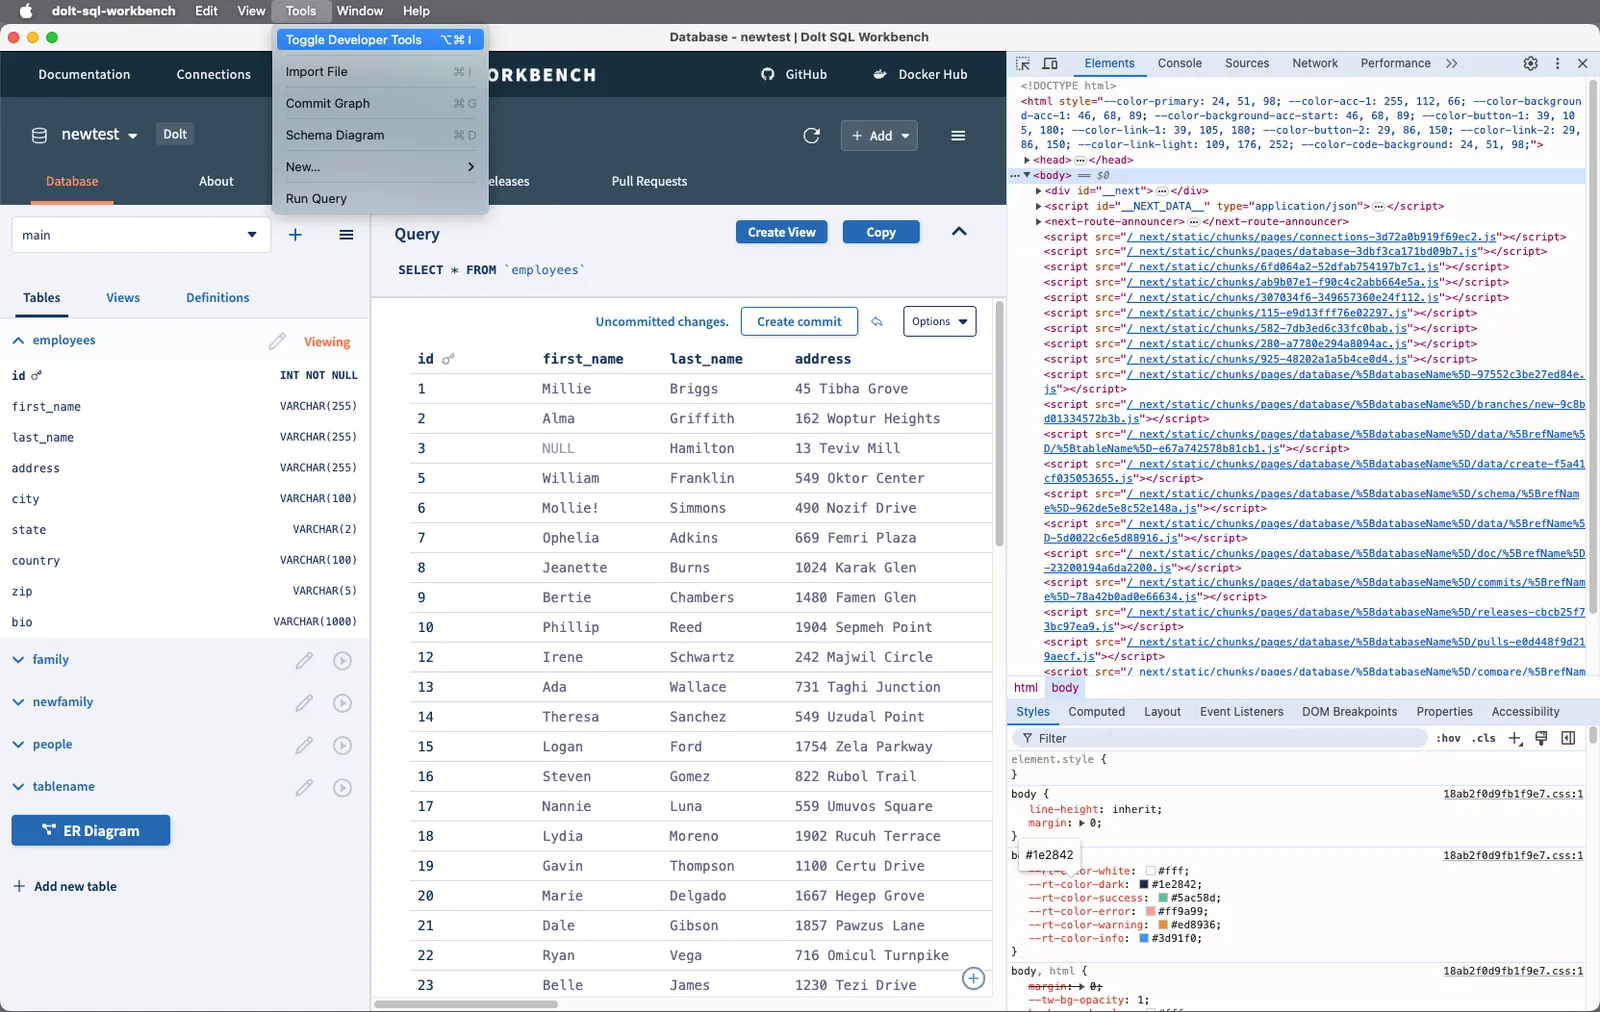
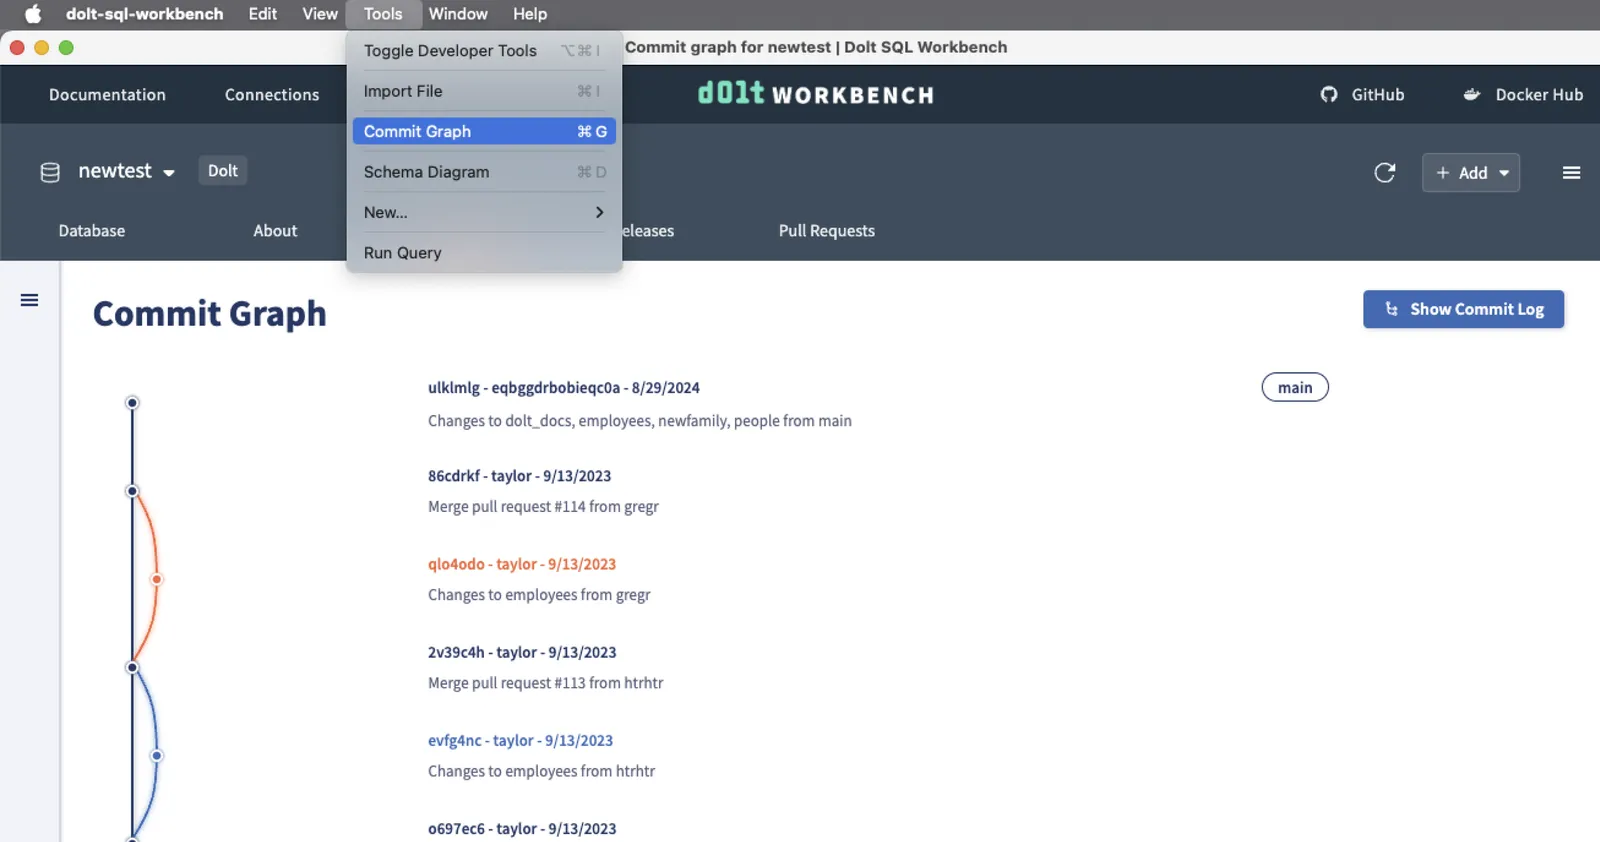
Here at DoltHub, we’ve been working hard turning our Dolt Workbench web application into a desktop app using Electron. In my previous blog, I talked about how to build an Electron app with Next.js. There may be situations where you need to modify the default Electron menus to add or remove items, enabling functionality specific to your application. We wanted to add menu items and create custom entries for the Dolt Workbench that navigate to specific features in the application. This blog will show you how to modify Electron menus to suit your app’s needs.
Creating a custom menu#
Every Electron app has a main process, which acts as the application’s entry point. It manages the app’s lifecycle and communicates with renderer processes. This is where you will define a menu template, which is an array of options for constructing menu items. Then, we will use buildFromTemplate to generate the menu and setApplicationMenu to apply it to the application.
Creating a Basic Menu on macOS#
On macOS, the menu is set as the application menu:
import { Menu, app } from "electron";

const name = app.getName();
const menuTemplate = [
  {
    label: name,
  },
];

const menu = Menu.buildFromTemplate(template);
Menu.setApplicationMenu(menu);
Creating a Menu on Windows and Linux#
On Windows and Linux, the menu will be set as each window’s top menu.
import { BrowserWindow, Menu, app } from "electron";

const win = new BrowserWindow({
  width: 1280,
  height: 680,
  title: "Dolt-SQL-Workbench",
  webPreferences: {
    preload: __dirname + "/preload.js",
  },
});

const name = app.getName();
const menuTemplate = [
  {
    label: name,
  },
];

const menu = Menu.buildFromTemplate(template);
win.setMenu(menu);
Defining menu items#
At the moment, our menu is empty. Let’s add a About and a Quit Menu Item. By using standard roles like about and quit, the app will automatically apply the built-in behaviors for these actions.
const name = app.getName();
const template = [
  {
    label: name,
    submenu: [
      {
        role: "about",
      },
      {
        type: "separator",
      },
      {
        role: "quit",
      },
    ],
  },
];
We can handle menu item clicks to perform specific actions. For example, to toggle the developer console, add a menu item with a keyboard shortcut.

When the “Toggle Developer Tools” menu is clicked, call webContents.toggleDevTools(). The shortcut is set as Ctrl+Shift+I for Windows/Linux and Alt+Command+I for macOS.
const template = [
  {
    label: name,
    submenu: [
      {
        role: "quit",
      },
    ],
  },
  {
    label: "Tools",
    submenu: [
      {
        label: "Toggle Developer Tools",
        accelerator:
          process.platform === "darwin" ? "Alt+Command+I" : "Ctrl+Shift+I",
        click(_item, focusedWindow) {
          if (focusedWindow) focusedWindow.webContents.toggleDevTools();
        },
      },
    ],
  },
];
Enable menu item conditionally#
You can use the enabled field to enable a menu item only in development mode.
const isDev = process.env.NODE_ENV === "development";

const template = [
  {
    label: "Tools",
    submenu: [
      {
        label: "Toggle Developer Tools",
        enabled: isDev,
        accelerator:
          process.platform === "darwin" ? "Alt+Command+I" : "Ctrl+Shift+I",
        click(_item, focusedWindow) {
          if (focusedWindow) focusedWindow.webContents.toggleDevTools();
        },
      },
    ],
  },
];
Navigate to specific features through menu#
To navigate to specific features using the menu, you need to communicate between the main and renderer process using IPC.
In Electron, the ipcMain and ipcRenderer modules allow processes to send messages through custom “channels”. We will add a “Commit Graph” item our application menu as an example. When the “Commit Graph” menu is clicked, the main process sends a message to the renderer process. In the preload script, we expose an onMenuClicked handler to the renderer process. The renderer process listens for this event and navigates to the commit graph page when triggered.

Sending the message from the menu#
In the main process, we create a custom menu that sends an IPC message to the renderer using the webContents.send API. For example, when the “Commit Graph” menu item is clicked, it sends a “commit-graph” message through the menu-clicked channel:
const template = [
  {
    label: "Commit Graph",
    accelerator: "CmdOrCtrl+G",
    click: () => win.webContents.send("menu-clicked", "commit-graph"),
  },
];
Exposing ipcRender.on via preload#
Since the renderer process doesn’t have direct access to Node.js or Electron modules, we can use the contextBridge API in the preload script to expose specific APIs.
// in preload.ts

const handler = {
  onMenuClicked: (callback: (value: string) => {}) =>
    ipcRenderer.on("menu-clicked", (_event, value) => callback(value)),
};

contextBridge.exposeInMainWorld("ipc", handler);

export type IpcHandler = typeof handler;
After loading the preload script, the renderer process can access to the window.ipc.onMenuClicked() function.
Handling navigation in the renderer process#
In the renderer, we create a hook to handle navigation based on the menu message. This hook listens for the menu-clicked event and shows the commit graph when the event is triggered and “commit-graph” message is received.
export default function useElectronMenu(params: DatabasePageParams) {
  const router = useRouter();
  const { defaultBranchName } = useDefaultBranch(params);

  window.ipc.onMenuClicked(async (value: string) => {
    const paramsWithRef = {
      ...params,
      refName: params.refName || defaultBranchName,
    };
    switch (value) {
      case "commit-graph": {
        const { href, as } = commitGraph(paramsWithRef);
        router.push(href, as).catch(console.error);
        break;
      }
      default:
        break;
    }
  });
}Conclusion#
Customizing dynamic menu items in Electron is a simple yet powerful way to enhance your app. If you have any requests for more Dolt Workbench menu items or general questions about Electron, feel free to create an issue on GitHub or reach out to us on Discord.
