
The Dolt for Beginners series focuses on topics people getting started with Dolt will likely be interested in. Most of our other blog articles go pretty deep so we want a space to talk about topics that experts may find boring.
So far, in our Beginner series we covered cloning a database from DoltHub. Like Git, Dolt has a GitHub, aptly called DoltHub, that you can use to collaborate with other Dolt users. In the clone article, we covered how to get an open database from DoltHub. This article will cover push which you use when you want to share a database with others.
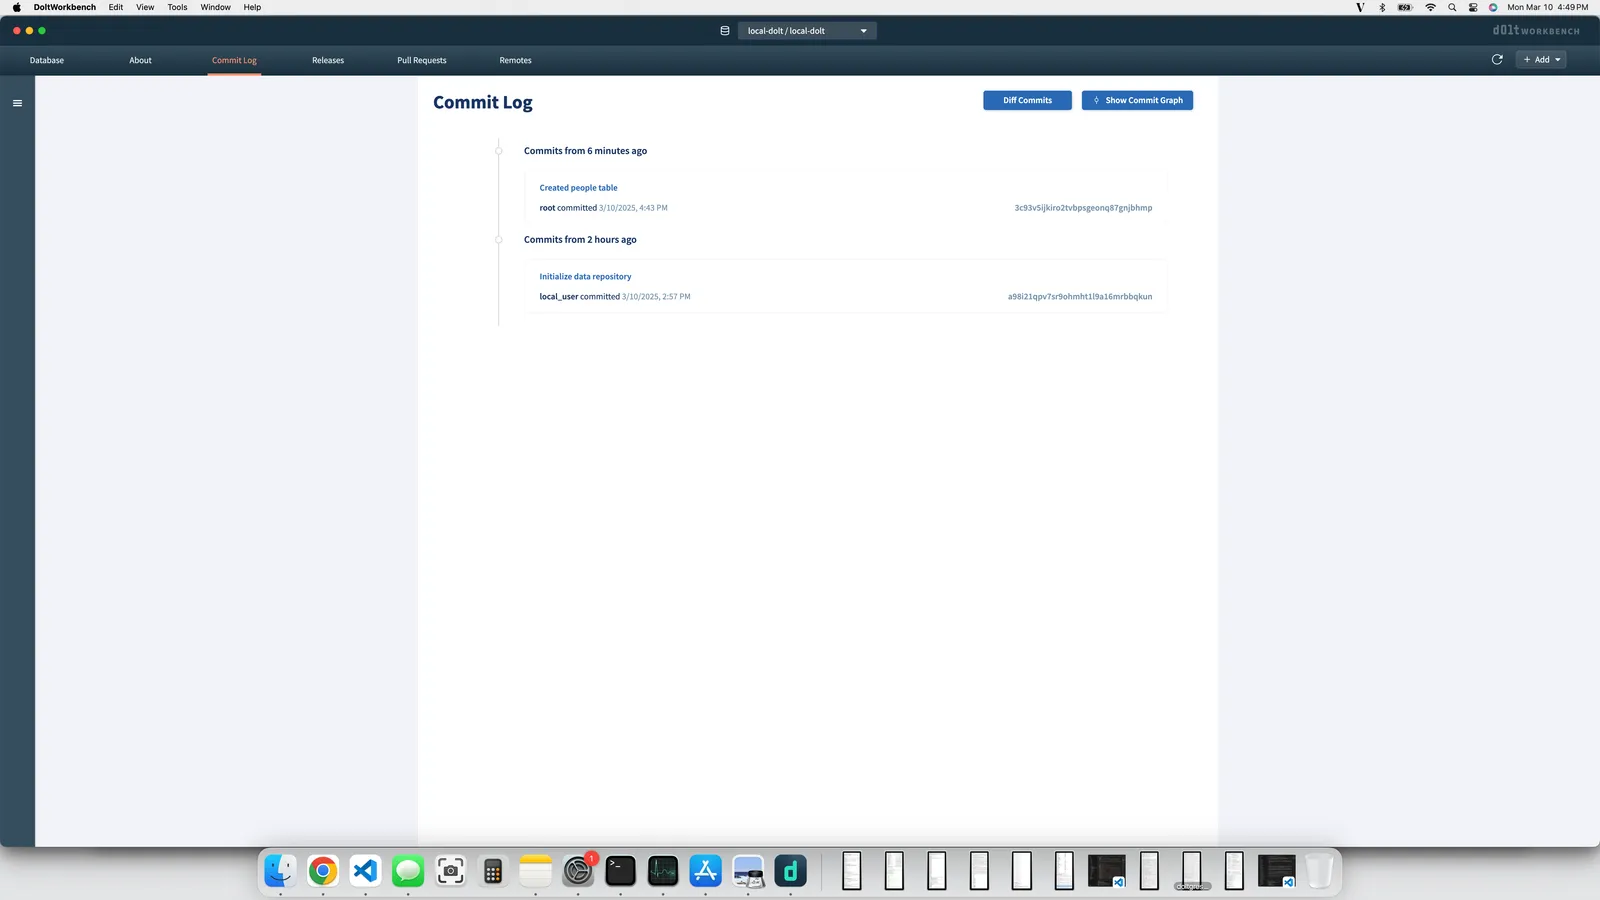
Create a Database Locally#
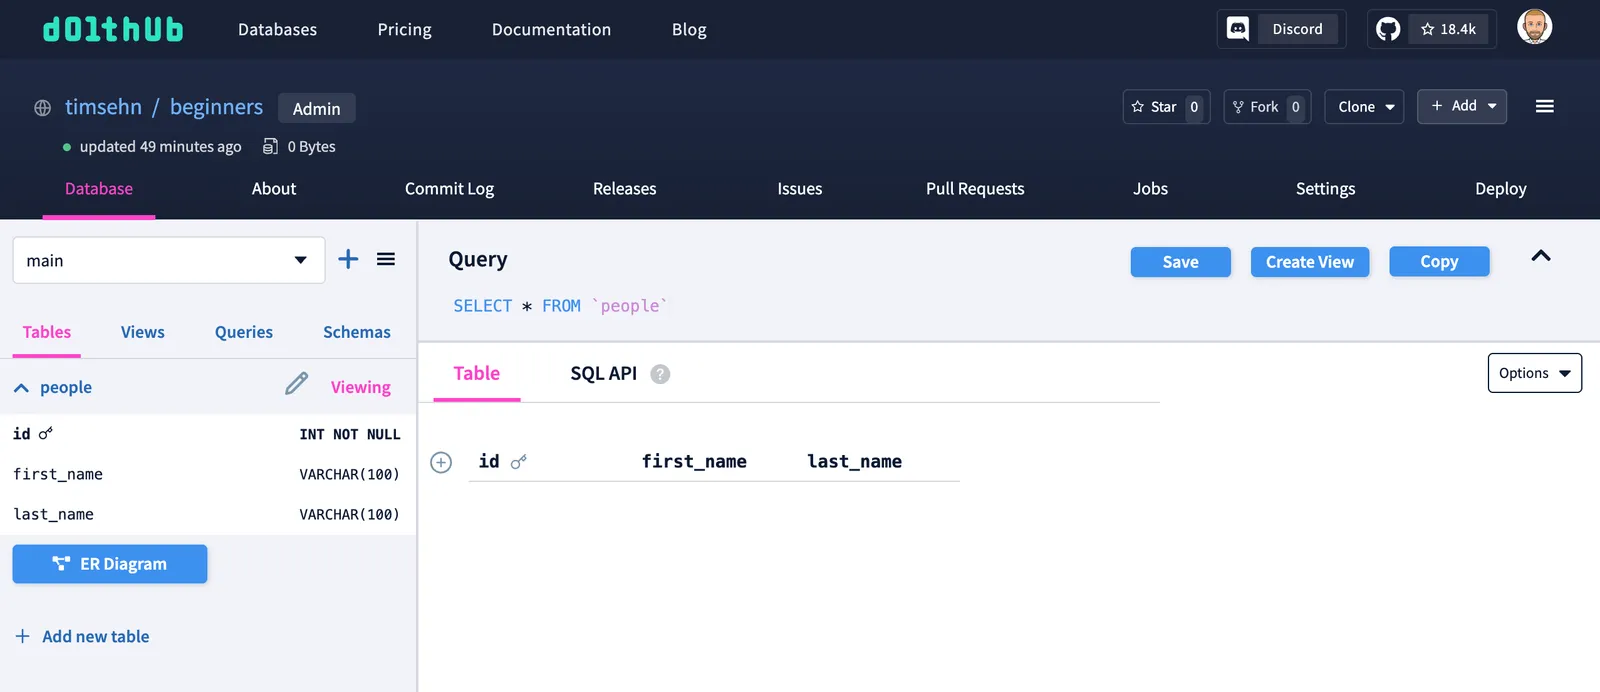
Since you are a beginner, use the Workbench. We’ll pick up where we left off in that article. We already have a single table database with a Dolt commit created! Now, we just want to push it up to DoltHub.
Create an Account on DoltHub#
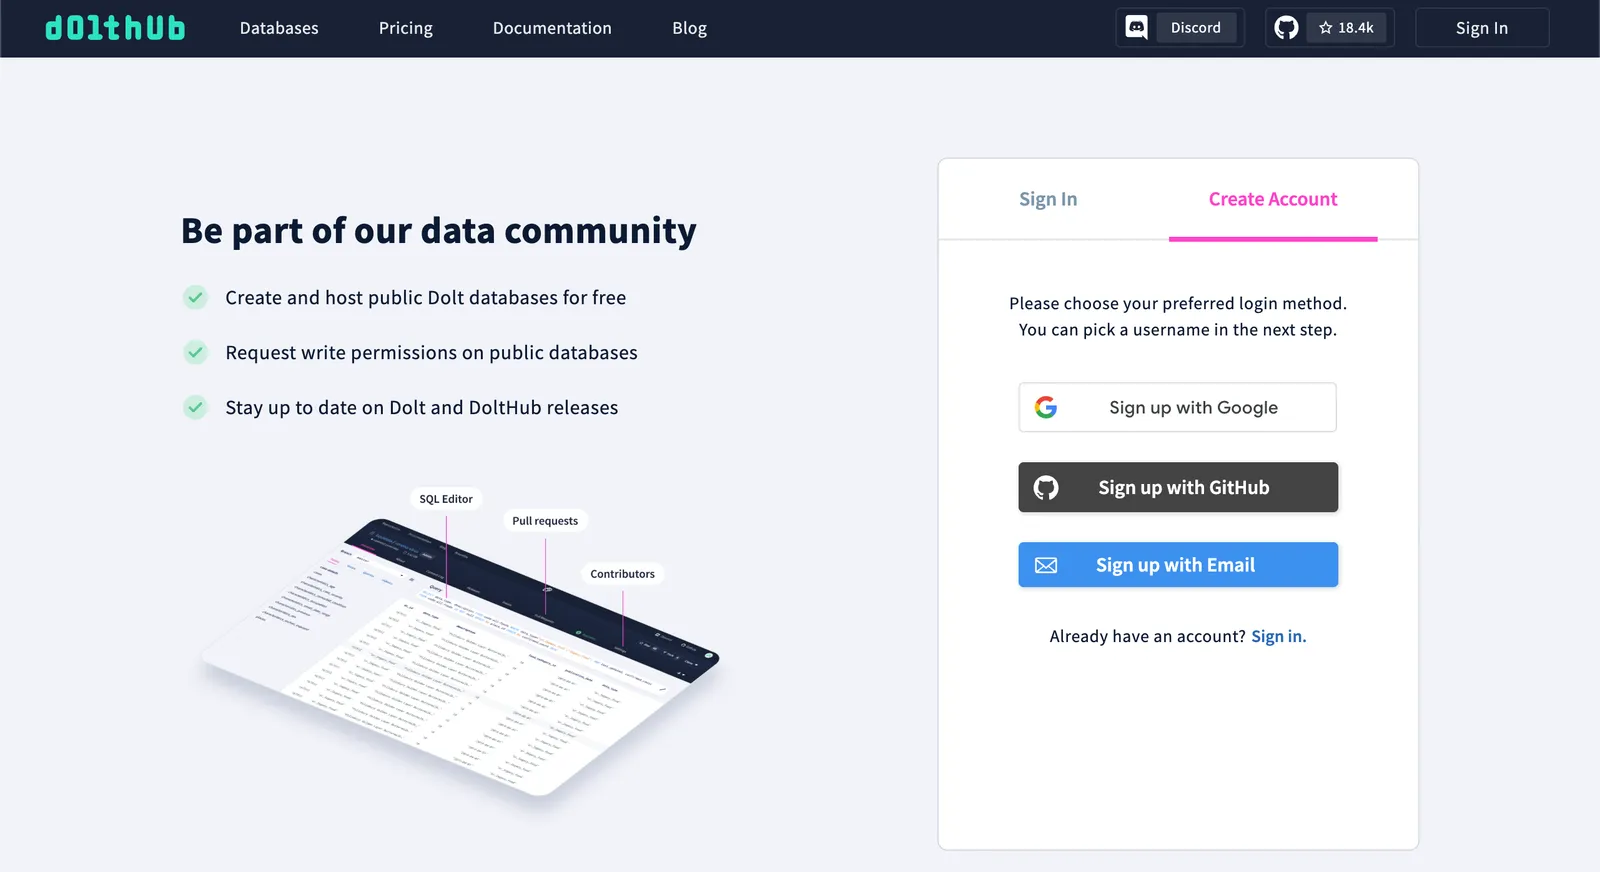
In order to push to DoltHub, you’ll need a DoltHub account. You can create one from a GitHub or Google account. Or, you can start from scratch with just an email. Go to DoltHub, click the Sign In button in the top corner, and the pick the Create Account tab. Follow the steps. This should be as easy as creating any other account on any other website.
Make sure you verify your email after you create your account, though it’s not strictly necessary for this example.
Create a Database on DoltHub#
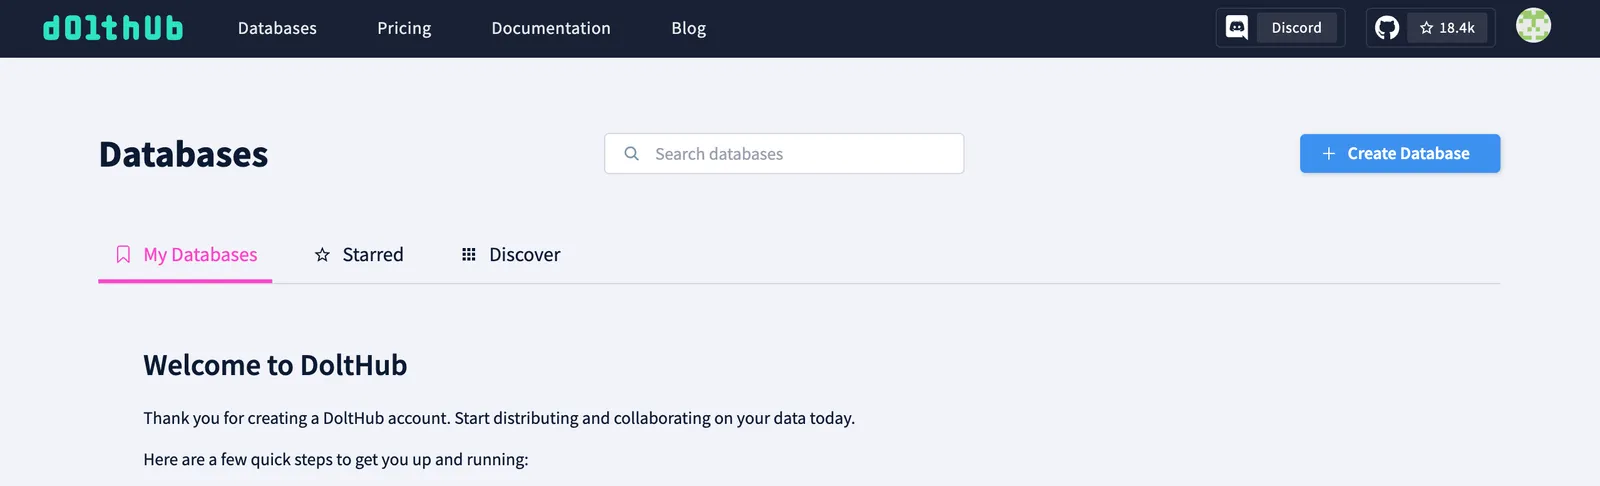
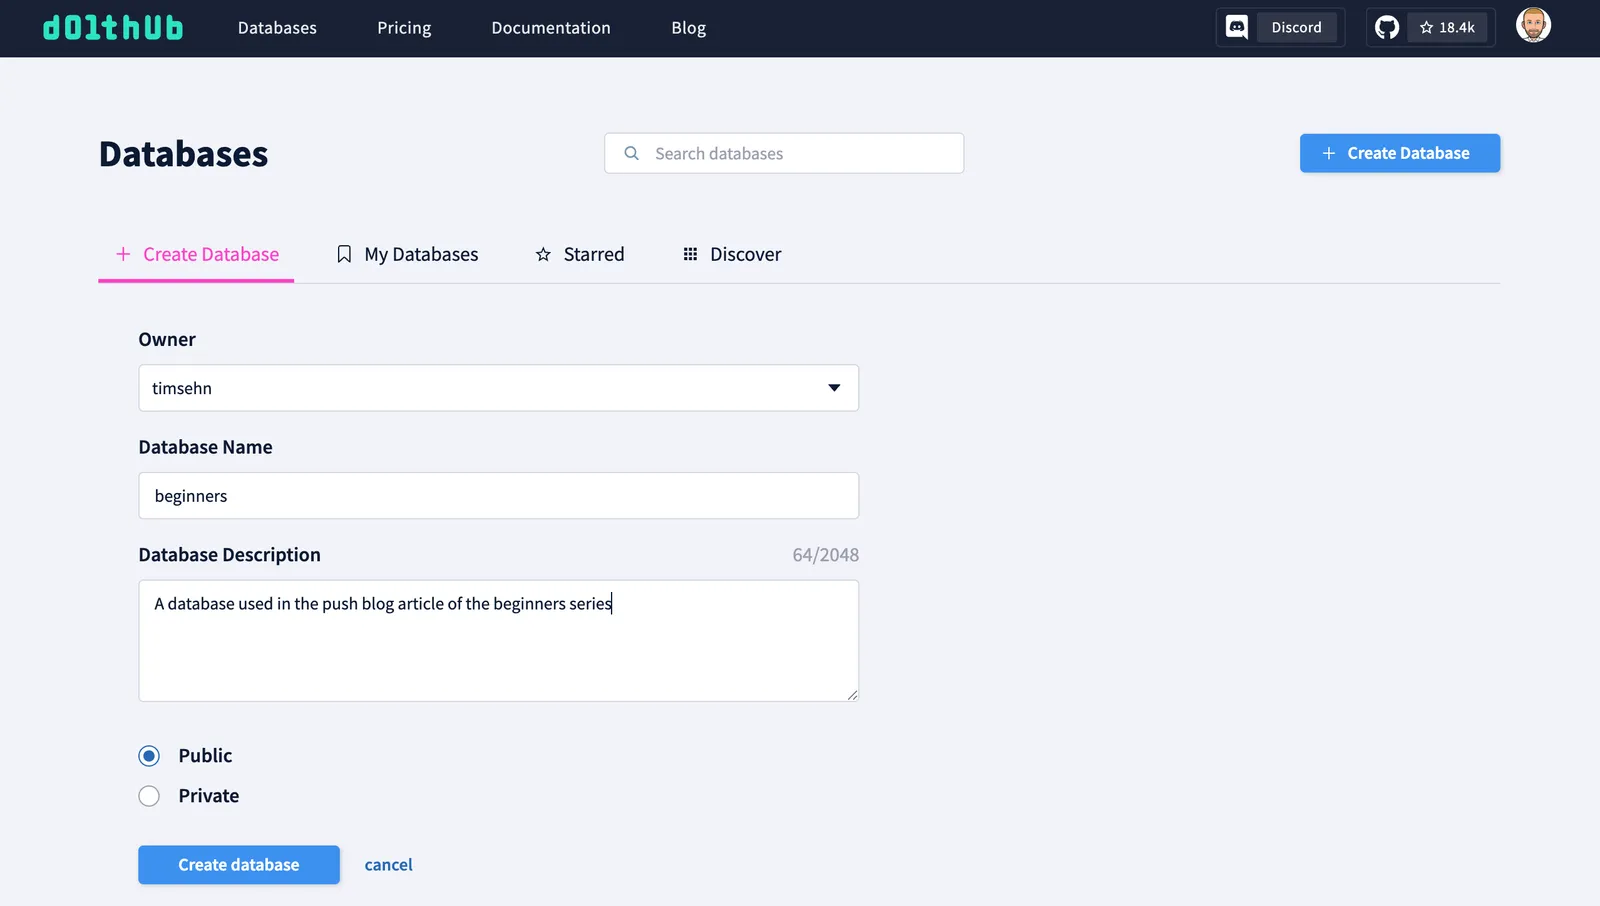
Now, we need to create a database on DoltHub to push to. On your profile page, which is the welcome screen after you create an account, click “Create database” in the top right corner.
You’ll be greeted with a form. Give your database a name and a description and then click “Create database”. On DoltHub, you can create public databases for free. Private databases require DoltHub Pro. DoltHub Pro is free up to 100MB. We’ll make our database public.
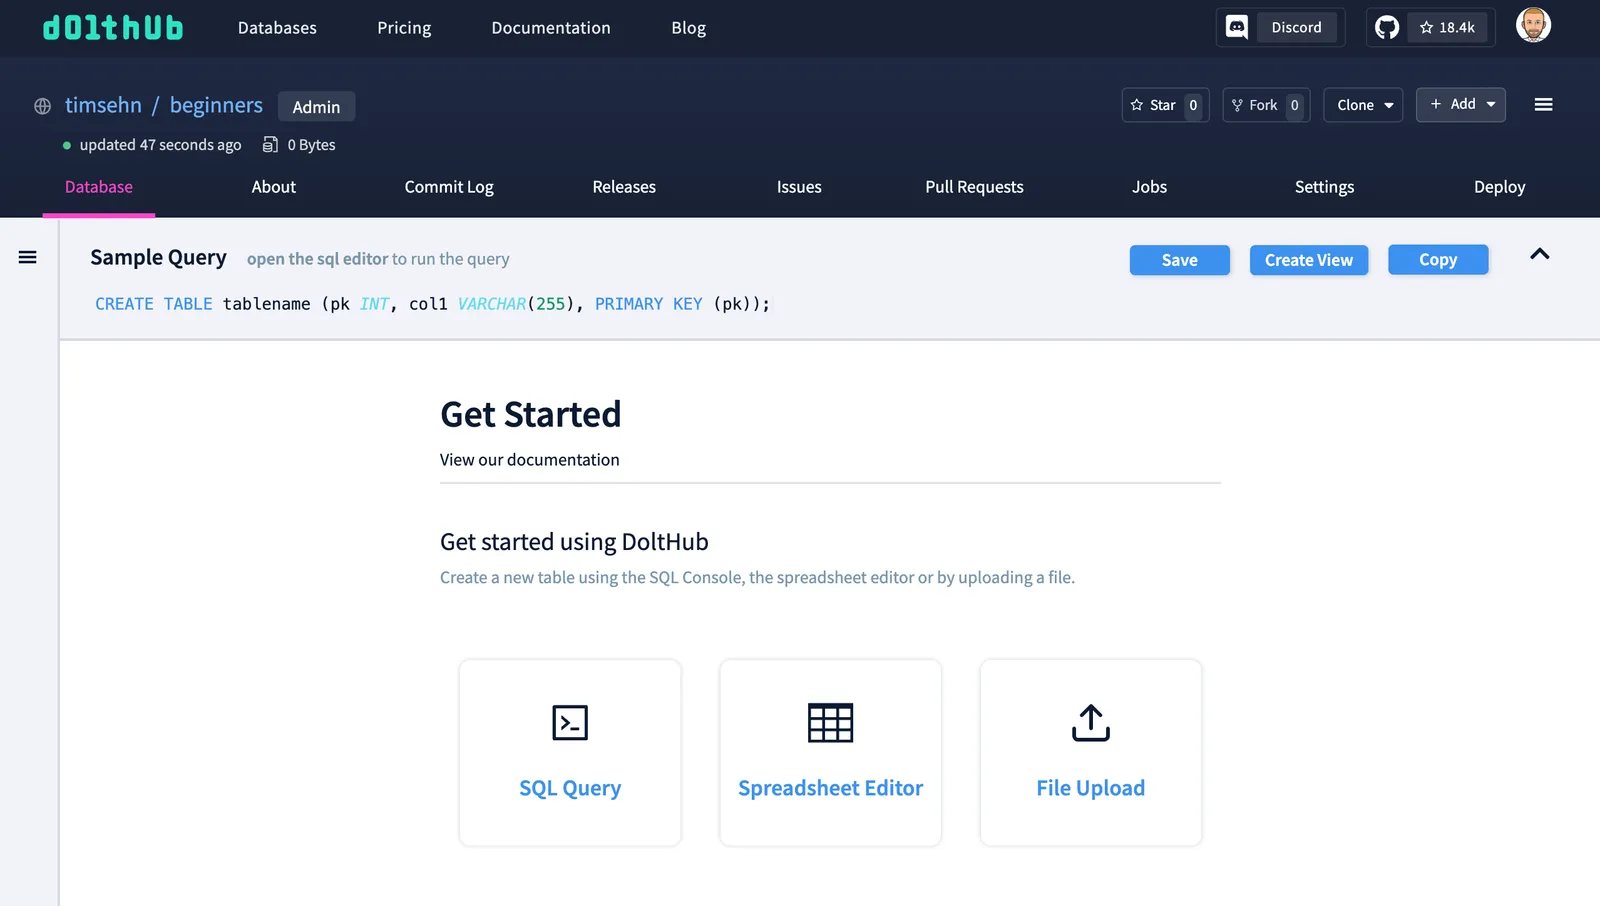
This will create an empty database for you. This is the database we will push to.
dolt login#
Now, pushing to DoltHub requires write permissions. To get write permissions, you must link your local Dolt with DoltHub. We tried to make this as easy as possible with a command called dolt login. Unfortunately this requires a Terminal right now, but I did make an issue to expose the login workflow in the Dolt Workbench.
Install Dolt#
To dolt login you must first install Dolt. Dolt is not complicated software. There is no complicated install process. You don’t need a Docker container or multiple dependencies installed. You download the single Dolt program and run it.
We have even more convenient ways to install Dolt for every platform.
Once you have Dolt installed, you need to open a terminal like “Terminal” on Mac or Powershell on Windows. Make sure Dolt is on your PATH by typing dolt. If everything is working you’ll be greeted by a help message with all the valid Dolt commands. For those familiar with the Git command line, Dolt should look pretty similar.
$ dolt
Valid commands for dolt are
                init - Create an empty Dolt data repository.
              status - Show the working tree status.
                 add - Add table changes to the list of staged table changes.
                diff - Diff a table.
... <trimmed for length>
... <trimmed for length>
... <trimmed for length>
              reflog - Show history of named refs.
              rebase - Reapplies commits on top of another base tip
                  ci - Commands for working with Dolt continuous integration configuration.
Configure Your User#
Just like Git, Dolt needs a user and email to create commits on the command line. To set up your user for this computer you use the dolt config command.
$ dolt config --global --add user.name "Tim Sehn"
$ dolt config --global --add user.email "tim@dolthub.com"
dolt login#
Now, run dolt login in your Terminal.
$ dolt login
Credentials created successfully.
pub key: s5us7qiq5ckj657uslolkqef7gltal2l7hbh1neb8ffd5690e240
/Users/timsehn/.dolt/creds/3cb29rqr2gmsi7idqj6fj1cn3869s4c83d6kqi97ktat8.jwk
Attempting to automatically open the credentials page in your default browser.
If the browser does not open or you wish to use a different device to authorize this request, open the following URL:
	https://dolthub.com/settings/credentials#s5us7qiq5ckj657uslolkqef7gltal2l7hbh1neb8ffd5690e240
Please associate your key with your account.
Checking remote server looking for key association.
Your shell will just hang there and a browser window will open.
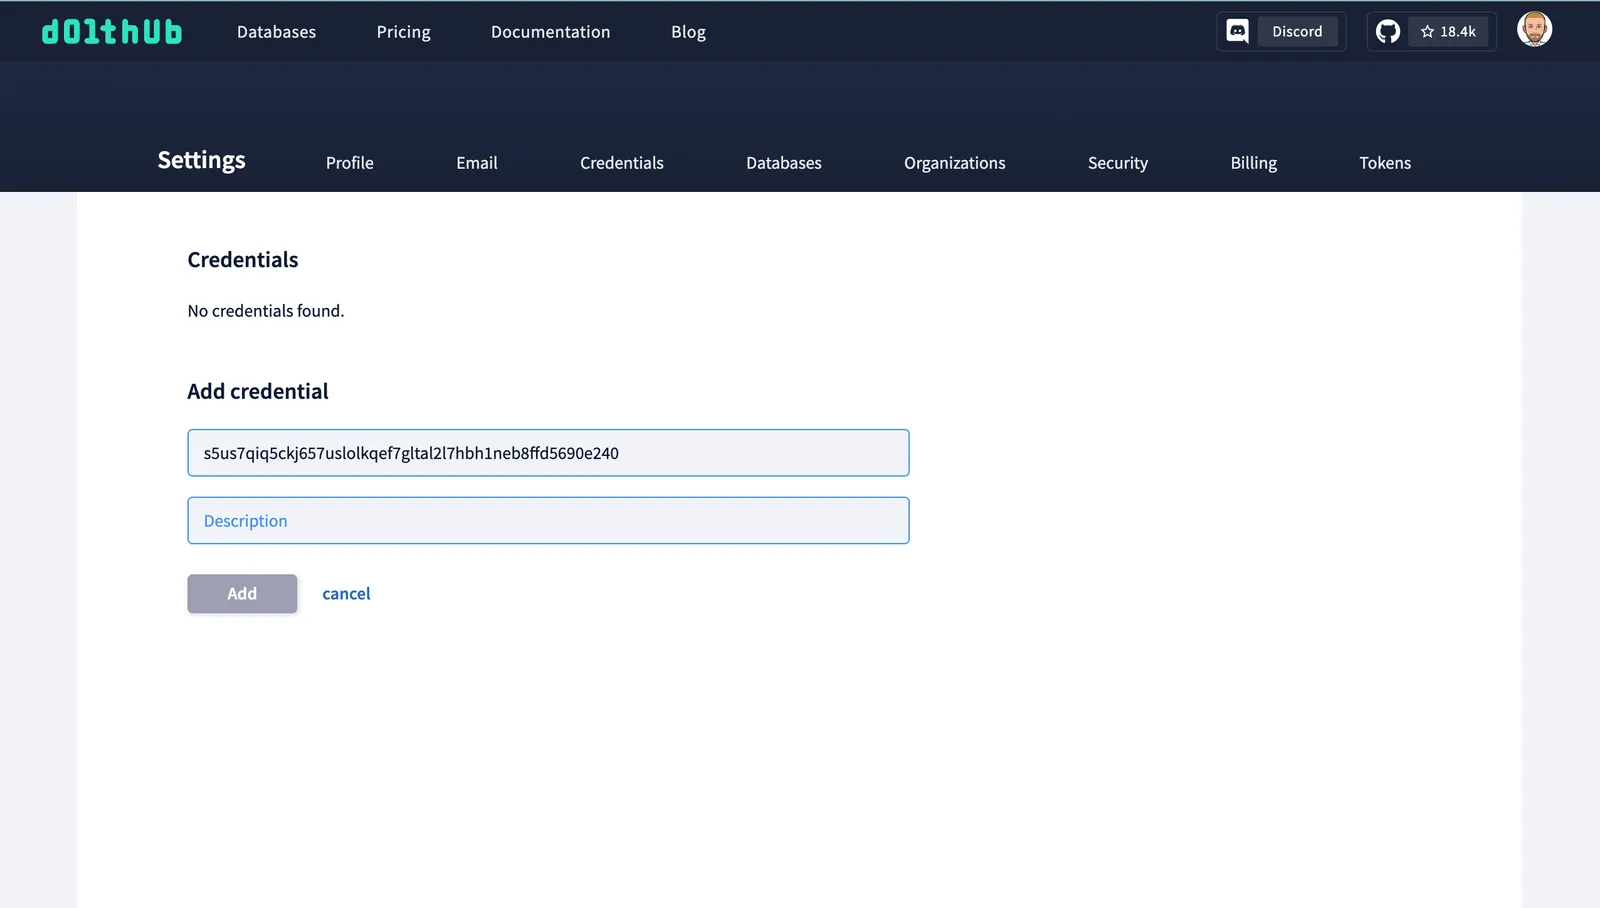
Name your credential something. I called mine “Mac Laptop” and click “Add”. A new credential will be created.
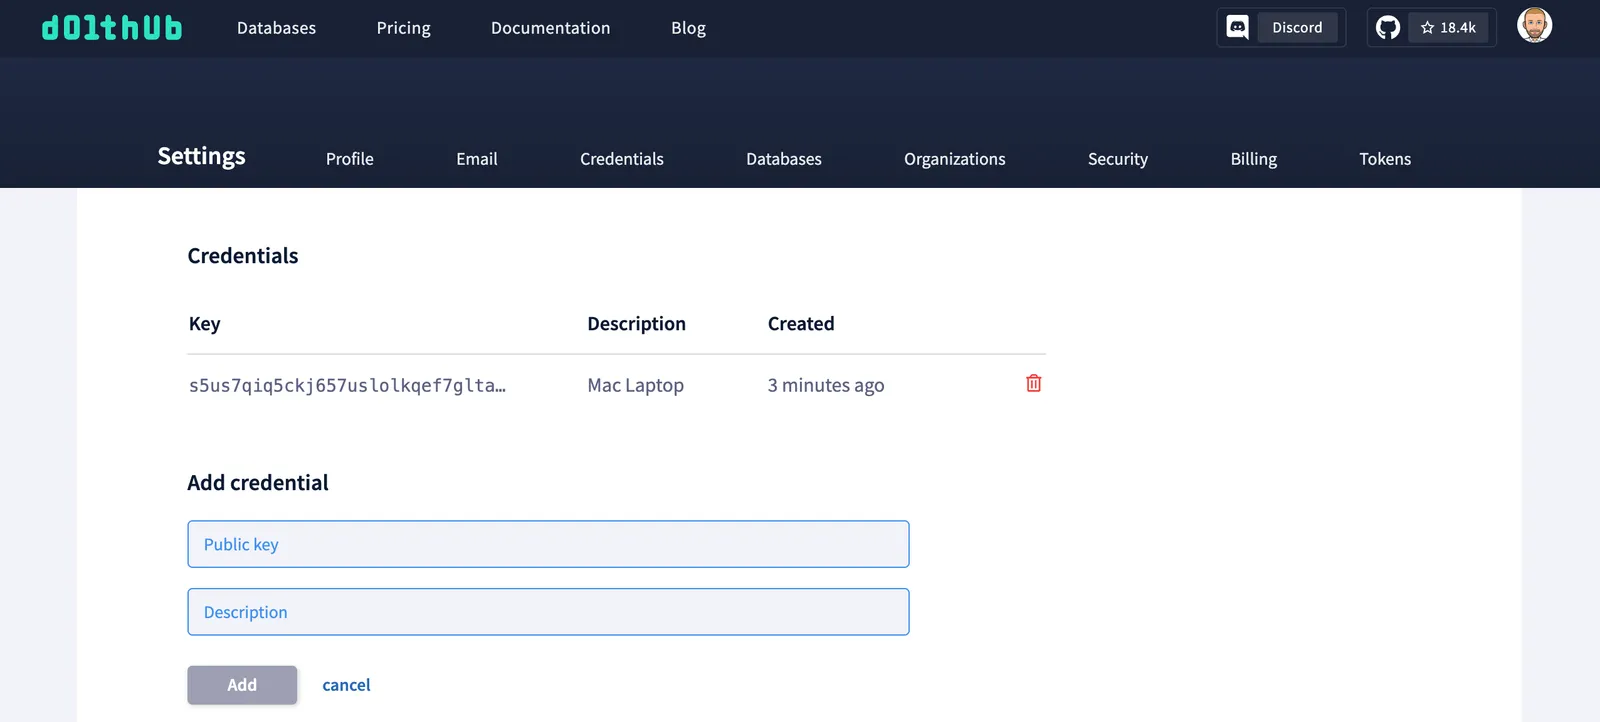
Your terminal should then free up with a “Key successfully associated with user” message.
$ dolt login
Credentials created successfully.
pub key: s5us7qiq5ckj657uslolkqef7gltal2l7hbh1neb8ffd5690e240
/Users/timsehn/.dolt/creds/3cb29rqr2gmsi7idqj6fj1cn3869s4c83d6kqi97ktat8.jwk
Attempting to automatically open the credentials page in your default browser.
If the browser does not open or you wish to use a different device to authorize this request, open the following URL:
	https://dolthub.com/settings/credentials#s5us7qiq5ckj657uslolkqef7gltal2l7hbh1neb8ffd5690e240
Please associate your key with your account.
Checking remote server looking for key association.
requesting update


Key successfully associated with user: timsehn email tim@dolthub.com
Push Your Local Database To DoltHub#
You are now ready to push your database to DoltHub. Go back to the Workbench and click the Remotes tab.

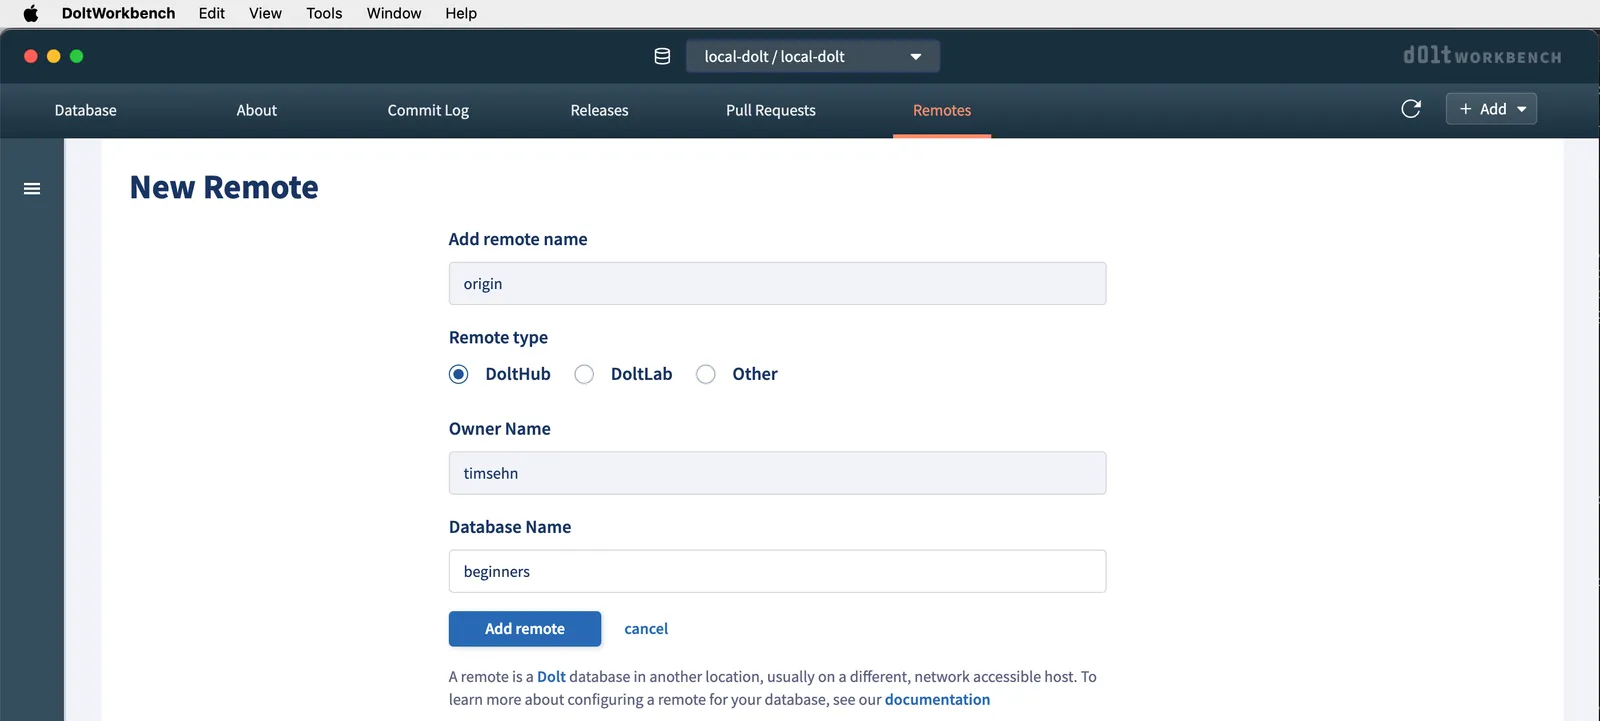
It will be empty. Click the “Add Remote” button. Fill in the necessary information. Remember we called our database “beginners” and it belongs to user “timsehn”.
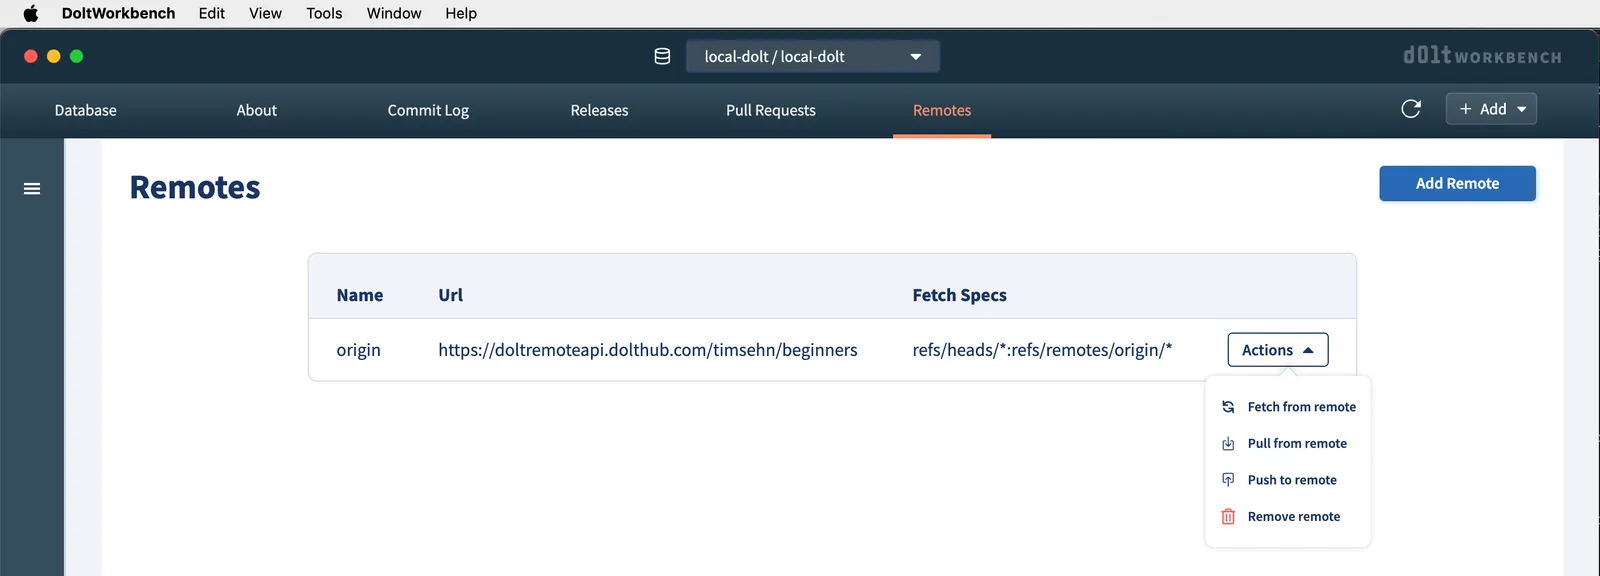
I click “Add remote” and I have a new remote to push to. I click the “Actions” dropdown next to my new remote and select the “Push to Remote” action.
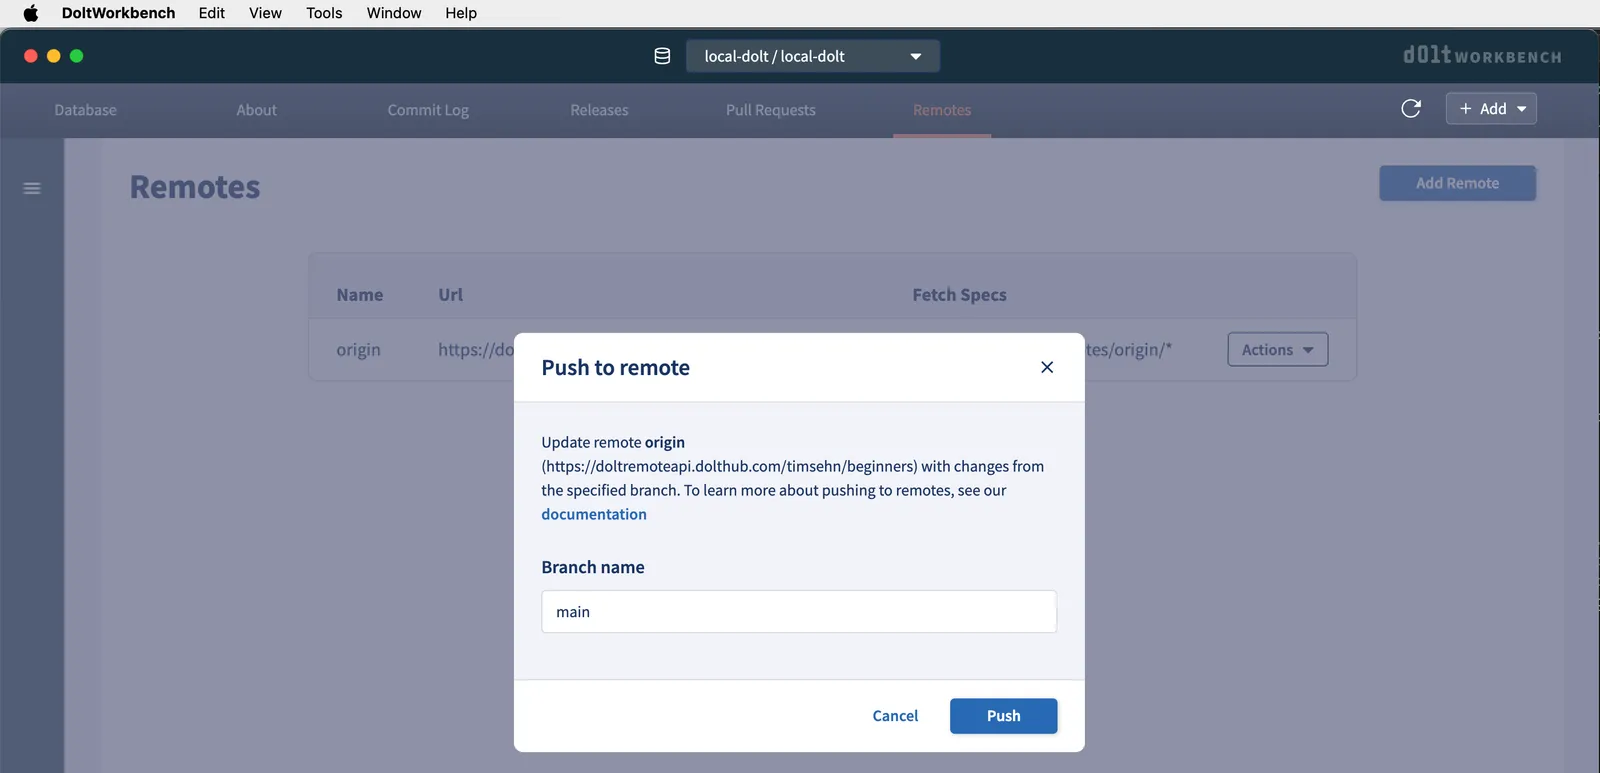
I must select which branch to push. I only have main which came pre-populated.
I click “Push” and if all goes well I get a Push successful message.
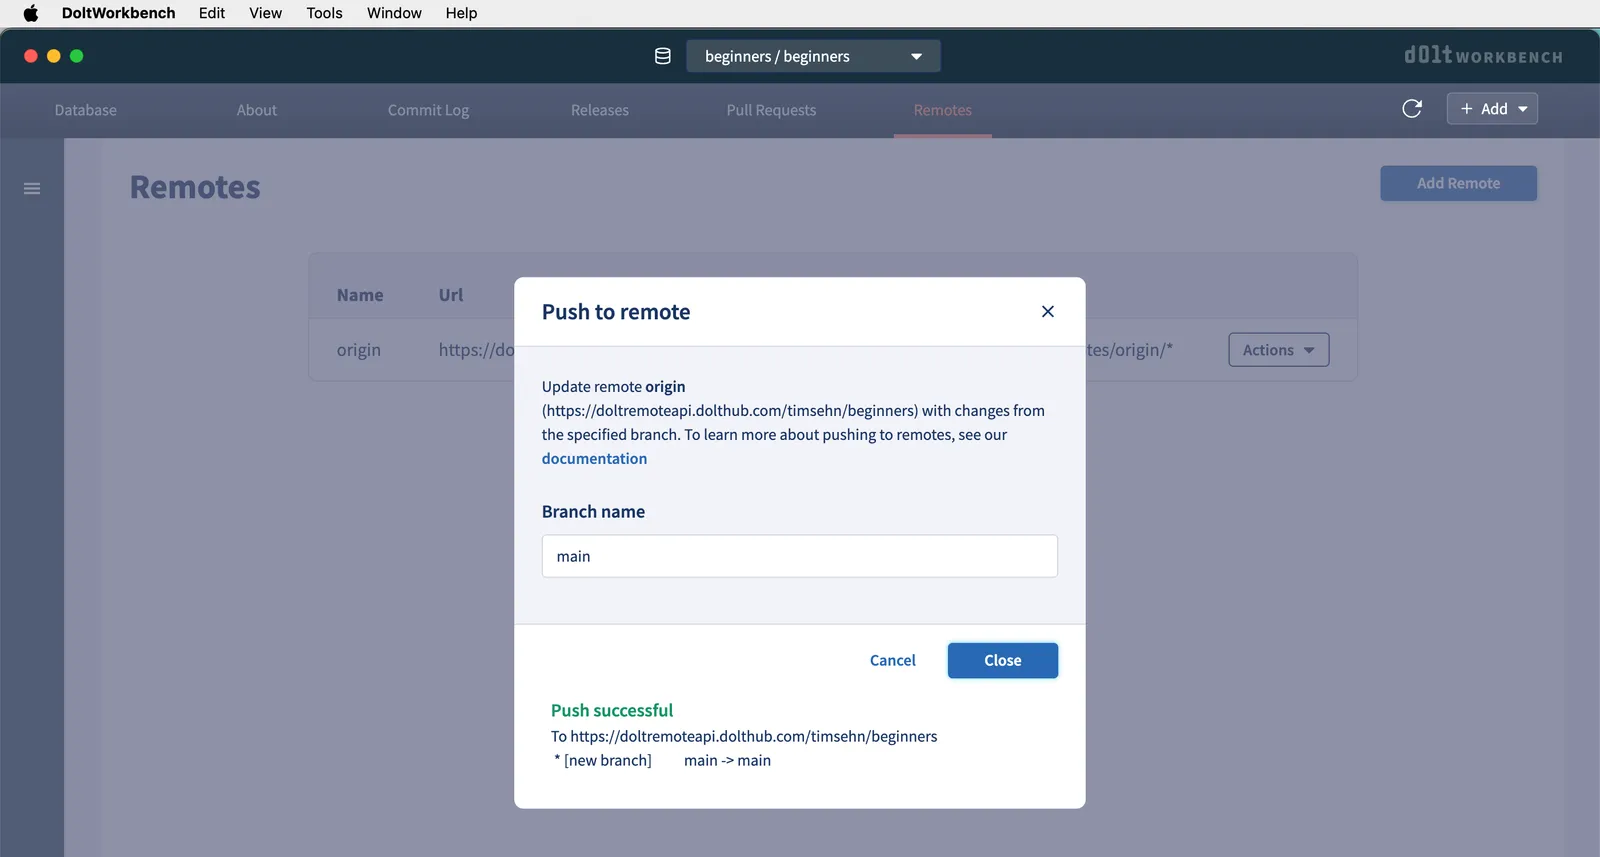
My database is now on DoltHub and you can tell your friends to go check it out.
Conclusion#
You now know how to share your database on DoltHub using Dolt push. It’s time for you to share some open data. More questions? Check out the rest of our Dolt for Beginners series or come by our Discord and ask us questions. We’re here to help.