
In our previous blog, we covered the process of submitting an Electron app to the Mac App Store (MAS). While MAS offers an official way to distribute your application, we also wanted to give users the option to download the app directly from our website. In this blog, I will guide you through the steps to package, sign, and notarize your Electron app for distribution outside the App Store.
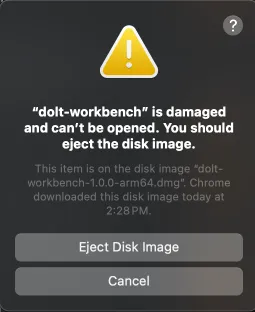
If you skip signing and notarizing, users will encounter an error: “app is damaged and can’t be opened”, when they try to run the downloaded app.
Packaging the App#
Generate Developer ID Certificates#
For apps distributed outside of the MAS, you will need to create a Developer ID Application certificate. This can only be created by the Apple Developer Account Holder. Follow the Apple’s official guide to generate your certificate, then download and install it by double-clicking the file.
Configuring Electron Builder#
Enable Hardened Runtime#
To have your app notarized by Apple, you need to enable hardened runtime in your build settings. Also, set gatekeeperAssess to false to prevent electron-builder from returning errors during packaging (since the app is not notarized yet).
"mac": {
  "hardenedRuntime": true,
  "gatekeeperAssess": false
}
Add Entitlements#
In addition to the entitlements we configured for MAS distribution, like com.apple.security.files.user-selected.read-only to allow file selection (as described in our previous blog), we need to specify additional entitlements for distributing outside the App Store.
For apps running in a hardened runtime, it’s essential to include at least two key entitlements:
These are required for apps that generate or execute code at runtime. Additionally, if you use external libraries, you might also need to add Disable Library Validation Entitlement to ensure your app can load external code without restrictions.
<?xml version="1.0" encoding="UTF-8"?>
<!DOCTYPE plist PUBLIC "-//Apple//DTD PLIST 1.0//EN" "http://www.apple.com/DTDs/PropertyList-1.0.dtd">
<plist version="1.0">
  <dict>
    <key>com.apple.security.network.client</key>
    <true/>
    <key>com.apple.security.network.server</key>
    <true/>
    <key>com.apple.security.files.user-selected.read-write</key>
    <true/>
    <key>com.apple.security.cs.allow-jit</key>
    <true/>
    <key>com.apple.security.cs.allow-unsigned-executable-memory</key>
    <true/>
    <key>com.apple.security.cs.disable-library-validation</key>
    <true/>
  </dict>
</plist>
Include the entitlements file in your build configuration:
"mac": {
      "hardenedRuntime": true,
      "gatekeeperAssess": false,
      "entitlements": "build/mac/entitlements.plist"
    }
Then, run yarn build to package the app.
Signing and Notarizing#
Sign the App#
Before distributing your app, you need to sign it with your Developer ID certificate. Use the following command to sign the DMG file:
codesign --force --verify --verbose --sign "Developer ID Application: Your Name (Team ID)" /path/to/your-app.dmgTo ensure it’s properly signed, run:
codesign -vvv /path/to/your-app.dmgYou should see an output that looks like this:
your-app.dmg: valid on disk
your-app.dmg: satisfies its Designated Requirement
Notarize the App#
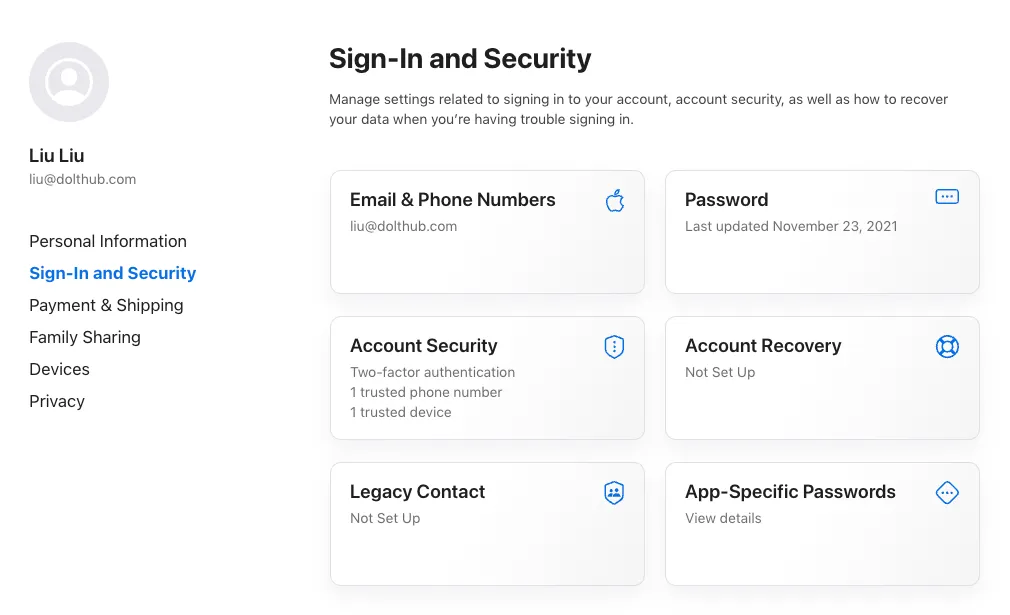
Next, submit the app for notarization. You will need an “App Specific Password” in this step. Go to Apple ID, in Sign-in and Security section, find App-Specific Password. Create one app-specific password for your app.
Now, notarize your app by running:
xcrun notarytool submit /path/to/your-app.dmg --apple-id "your-apple-id" --password "your-app-specific-password" --team-id "your-team-id" --waitThis process can take a few minutes. If successful, you’ll see a message like this:
Conducting pre-submission checks for your-app.dmg and initiating connection to the Apple notary service...
Submission ID received
  id: your-app-submission-id
Upload progress: 100.00% (176 MB of 176 MB)
Successfully uploaded file
  id: your-app-submission-id
  path: /path/to/your-app.dmg
Waiting for processing to complete.
Current status: Accepted...........................................
Processing complete
  id: your-app-submission-id
  status: Accepted
Staple the Notarization#
Once notarization is accepted, you need to staple the notarization ticket to the app.
xcrun stapler staple /path/to/your-app.dmgYou should see the following output:
Processing: /path/to/your-app.dmg
Processing: /path/to/your-app.dmg
The staple and validate action worked!
The app is now fully signed, notarized, and ready for distribution outside the App Store.
Conclusion#
Last week we announced that the workbench is now available as a desktop app for both Mac and Windows. If you encounter any issues or have feature requests, feel free to file them on GitHub, or reach out to us on Discord.